Moving your online presence to a better server is a necessary step for growth, and learning how to move WordPress site to new host environments ensures your digital assets remain secure. You might find that your current provider charges too much or delivers slow loading speeds, which significantly hurts your search engine rankings and frustrates visitors. You ultimately need a web host that matches your professional ambition and performance requirements, and while changing providers sounds technical, the migration process follows a logical path.
This guide explains how to move a WordPress site to a new location without losing data, as performing a WordPress migration correctly prevents broken links and missing images. We will cover three distinct methods to handle this transfer, including using a plugin, asking the host to do it, or handling the files yourself. We will focus on maintaining your WordPress SEO and keeping downtime to an absolute minimum throughout the entire transition.
Table of Contents
- Preparation: Back Up Everything to Move WordPress Site to New Host Safely
- Method 1: Move WordPress Site to New Host Using a Migration Plugin
- Method 2: The Manual Process to Move WordPress Site to New Host Servers
- Method 3: Managed Services to Move WordPress Site to New Host Automatically
- Finalizing the Transition: DNS Changes to Move WordPress Site to New Host
Preparation: Back Up Everything to Move WordPress Site to New Host Safely

You must create a full backup before you touch a single file because data loss is a real risk during any transfer operation. A comprehensive backup must include your WordPress files and your entire database to ensure a seamless restoration later. While various hosting providers typically offer integrated backup tools, you should always create an independent copy for safety. Choosing a reliable hosting provider is the first step toward a more stable online presence.
You can store these backups on your local computer or use cloud storage services like Google Drive to maintain redundancy. This keeps your data safe even if you lose access to your hosting account during the transition period. You should verify that the backup file is complete and not corrupted, as a partial backup is useless when you need to recover a broken WordPress website.
Gather your access credentials for both the old and new accounts, including FTP/SFTP access details and database login information. Keep these details handy in a secure note, as you will also need access to your domain registrar to update DNS settings later. Being organized now saves significant time during the actual migration process and prevents unnecessary stress during the transition.
Pro Tip
Reduce the size of your backup by deleting inactive plugins and spam comments before you start. A smaller WordPress site transfers faster and reduces the chance of timeout errors.
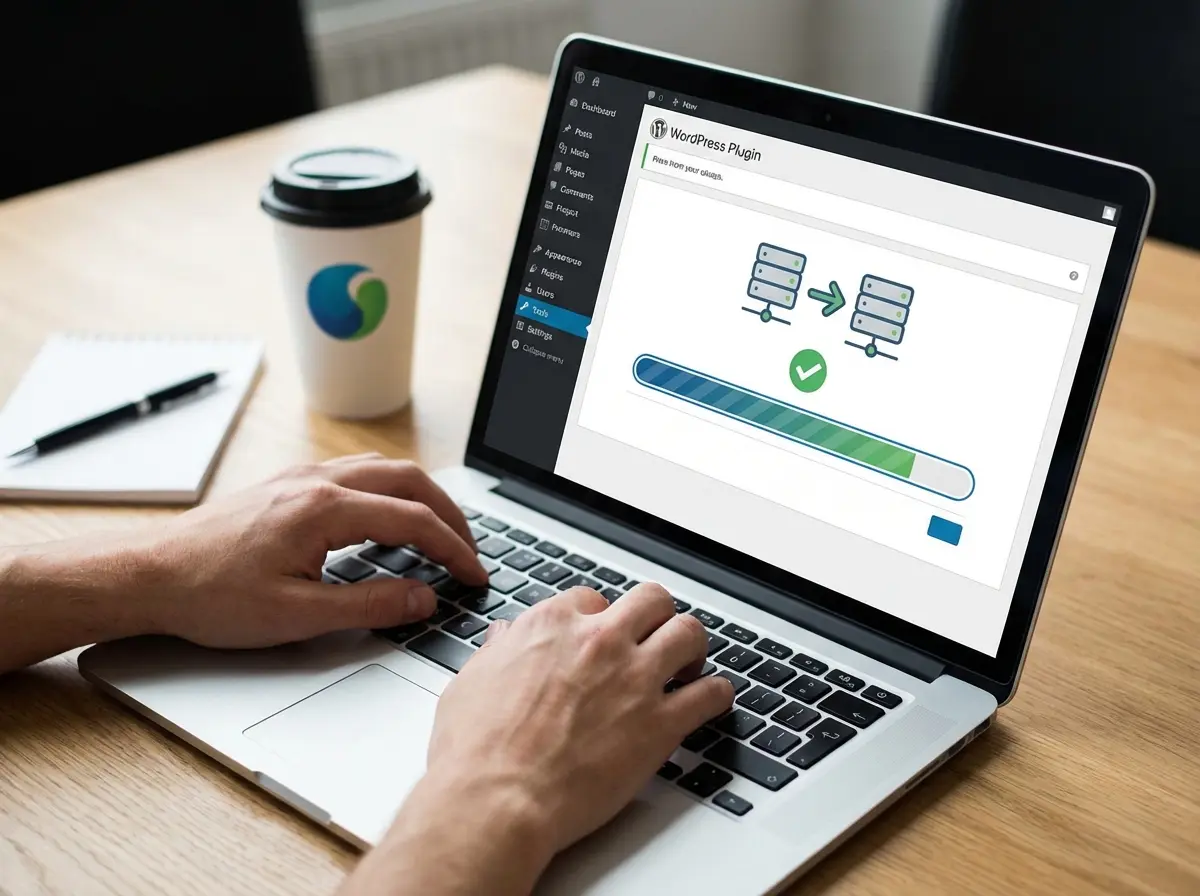
Method 1: Move WordPress Site to New Host Using a Migration Plugin

Plugins provide the most accessible route for most users because a dedicated migration tool handles the complex lifting behind the scenes. These tools package your database, themes, plugins, and media into a single file for easy transport. You then upload this package to the new location where you will install WordPress to receive the data. This automation significantly reduces the margin for human error during the transfer.
Several excellent options exist in the repository, and the Duplicator plugin is a standard choice for many developers. Another strong contender is WP Migrate Lite, which offers robust features for moving databases and handling serialized data. These tools bypass the need to manually edit code or access the server directly, as they automate the search-and-replace process for URLs in your database.
You install the plugin on your current host first to create a package and download it to your computer. Then, you set up a fresh WordPress installation on your new web host to facilitate the import. Ensure your current host has sufficient resources to generate the migration file without timing out, which creates an exact clone of your original WordPress website.
How to Use WP Migrate Lite
Install and Activate the Plugin
Log in to your existing dashboard and add WP Migrate Lite. Activate it and navigate to the plugin settings page. Tip: Make sure you have enough disk space on your current server to create the export file.
Export Your Data
Select the option to migrate WordPress data. Choose “Export File” to save the SQL database and necessary files to your computer.
Import to the New Host
Install Migrate Lite on the new server. Use the import function to upload the file you just created.
Some plugins might require a paid version for large sites, especially if your WordPress site is several gigabytes in size. If the free version fails due to file size limits, you should look at manual methods to complete the transfer. The plugin method is excellent for most users, but it relies on server timeouts not interrupting the process during the export phase.
Key Takeaways
- Plugins like Duplicator and WP Migrate Lite simplify the transfer for beginners.
- You must install a fresh WordPress instance on the destination server first.
- Large websites may hit timeout limits with free migration plugins.
Method 2: The Manual Process to Move WordPress Site to New Host Servers
You might prefer to manually migrate your site to maintain total control over every aspect of the transfer. This approach requires you to move the WordPress files and the WordPress database separately using specialized tools. You can use an FTP client or the file manager in your control panel to access the server environment directly.
First, connect to your current web host using your FTP client and navigate to the root directory of your website. Download all site files to a folder on your computer, ensuring you include the wp-content folder and the WordPress core files needed to run the application. The WordPress core must remain intact to ensure the site functions correctly after the move is finalized.
Next, you must export your database by logging in to your hosting control panel and opening the phpMyAdmin tool. Select your database and click the “Export” tab, then choose the “Quick” export method and ensure the format is SQL. Click “Go” to download the sql file to your computer, which contains all your posts, comments, and site settings.
Warning
Do not lose the wp-config.php file during the download. This file holds the credentials that connect your files to the database.
Uploading Your WordPress Database and Files to the New Host
You must now create a new database on your destination server by logging in to your new hosting environment and finding the MySQL Database Wizard. Create a new database and a new user, then assign the user to the database with full privileges while writing down the credentials immediately. This step is critical for establishing a connection between your files and the data.
Open phpMyAdmin on the new host and select the empty database you just created before clicking the “Import” tab to begin the process. Browse for the sql file you downloaded earlier and click “Go” to populate your new database with your old content. If the file is very large, you might need to contact customer support for assistance with server-side limits.
Connect to your new server via FTP and upload all the files from your computer to the new root folder. This can take some time depending on your internet speed and the total size of your media library. Once the upload finishes, you need to edit the wp-config.php file to update the database name, username, and password to match the new credentials.
If a domain change is occurring during this move, you must update the site URL in the database by running a query or using a script. This manual process is the most thorough way to migrate WordPress website data without relying on third-party software. This manual process guarantees that every byte of your WordPress site arrives safely at its new destination.
Method 3: Managed Services to Move WordPress Site to New Host Automatically
Many premium web hosts provide white-glove migration services, and companies like WP Engine specialize in managed WordPress hosting. This is the easiest path if you are moving a WordPress site to a new high-performance provider. Web hosts offer free migration as an incentive to sign up, and their team usually handles the technical heavy lifting for you.
You usually provide your old login details, and their professional team handles the rest of the technical work. This approach minimizes the risk of errors because experts manage the transfer while you focus on your business. You simply wait for a notification that the transfer is complete before verifying the results on the new server.
Even if the service is automated, you should still perform your own database backup for extra security. Never rely solely on a third party for data safety, even when using reputable WP Migrate plugins. If you choose a host that doesn’t offer this, you can hire a developer, but the cost will be higher than doing it yourself.
Key Takeaways
- Manual migration offers the most control but requires FTP and database knowledge.
- You must update the wp-config.php file to connect files to the new database.
- Managed hosts like WP Engine often perform the migration for free.
Finalizing the Transition: DNS Changes to Move WordPress Site to New Host
You need to test your WordPress site on the new server before the public sees it to prevent visitors from seeing errors. You can do this by editing the hosts file on your computer, which tricks your system into thinking the domain points to the new ip address. If the site isn’t working as expected, check your wp migrate logs or database connection before proceeding further.
Locate the hosts file in your system drivers (Windows) or /etc/ folder (Mac) and add a line with your new ip address followed by your domain name. You will now see how your WordPress site loads on the new server while the rest of the world still sees the old host. This allows you to fix any minor styling or link issues before the final launch.
Once you verify that the WordPress site works perfectly, update your nameservers at your domain registrar to point to the new WordPress host. This process, called DNS propagation, can take up to 48 hours, though it usually happens much faster in most regions. During this window, some users will see the old site while others see the new one as the records update globally.
This overlap guarantees minimal downtime for your business, so do not cancel your current hosting account immediately. Keep it active for at least a week until the domain transfer is fully stabilized and traffic has settled. Once you are sure no files are missing, you can close the old account and enjoy your new hosting environment.
Conclusion
Moving a WordPress site requires attention to detail, but the rewards of a faster web host are significant for user experience and search rankings. Whether you choose to manually migrate or use WordPress migration tools, the core principles of backing up and updating DNS remain the same. Always keep a copy of your sql file and site files on google drive to ensure your valuable digital assets remain protected.
If you encounter issues, remember that many web hosts offer free migration services to help you succeed on their platform. Your WordPress site is a valuable asset, and placing it on a reliable server is one of the best investments you can make. Take your time, follow the steps carefully, and enjoy the performance boost on your new hosting platform.